Homemade Candy Corn
 Hello, darling readers! If you've visited Piece of Cake often enough, you might notice that things are looking a little different around here. And I'll tell you what--I'm just so pumped about the whole thing. I hope you'll take a minute to poke around and learn the new lay of the land, much as I have been doing the past couple days (minus all my hand-wringing and being all Andy Rooney about new-fangled technology and change). There may be a few kinks here and there that we'll smooth out, but hey, what's life without a little bit of crazy?
Oh, hey, speaking of crazy, I made my own candy corn the other day. I know, right? What could be more ridiculous and yet so totally perfect right now? In the midst of deadlines and website blah-blah-blahs, I still couldn't help but get inspired to try this insane culinary experiment. And, as usual, it's the fabulous Jessie Oleson (you may know her as CakeSpy) who put such an adorably whackadoodle idea in my head. We can all rejoice that the Queen of Sweet Teeth has just released her first cookbook, and if ever there was a compilation of recipes that so perfectly encompassed the persona of its author, its this one. I dare you to read this book and not crack a smile. Can't be done, people. This book is a stack of sugary joy, plain and simple.
I've been a fan of CakeSpy for years, and might have e-mailed back creepily fast when I was asked to participate in a "blog book tour" for this book. I love Jessie's unabashed celebration of sugar and her knack for whimsy, whipping up the sorts of recipes that have you asking: can you actually do that?! Like this candy corn, for instance. (See also Candy Salad, Cadbury Creme Eggs Benedict and Cupcake-Stuffed Cupcakes. Yes, really.)
I found that when one decides to make one's own candy corn, its best not to ask questions. This is fun, people. It's equal parts confectionery endeavor, engineering feat and hysterical edible Play-Doh experiment. And it totally lays the smackdown on regular old bagged candy corn. Just get prepared, get started, get on it. Yeah!
I'm not the only one helping to spread the word about this great little book. Check out what some of my other favorite food bloggers are making!
Adapted from Jessie Oleson's CakeSpy Presents: Sweet Treats for a Sugar-Filled Life
Makes about 3 cups of 3/4-inch pieces
A few tips: Heatproof gloves are a good idea here, especially if you're going to be making this an activity with kiddos, to protect your hands from both the hot spots in the candy dough and staining from the food coloring while kneading it in.
I found it was helpful to divide each color or dough into a few smaller portions before forming them into shorter ropes instead of trying to make one superlong one. I also might have been a little slow in my rope-forming, because the candy got a little too firm to work with at times, but that was remedied by tossing the dough into the microwave for five seconds or so just to warm it a bit. When the ropes were all formed and lined up together, I popped them in a low oven for a few minutes to warm them again so they'd smoosh together and adhere better when rolled.
Nonstick cooking spray is your friend here--I used it on the bowls for dividing up the dough and on the work surface.
2 1/2 cups confectioners' sugar, sifted
1/3 cup powdered milk
1 cup granulated sugar
2/3 cup corn syrup
1/3 cup salted butter
1 teaspoon pure vanilla extract
Red and yellow food coloring
In a medium bowl, whisk together the confectioners' sugar and powdered milk and set aside.
In a medium saucepan, combine the granulated sugar, corn syrup and butter. Bring to a boil over high heat. Reduce the heat to medium and boil for five minutes, stirring occasionally--the mixture will reduce and thicken. Remove the pan from the heat and stir in the vanilla. Add the dry ingredients and stir to blend well. Transfer the dough to a bowl sprayed with nonstick cooking spray and let it cool until it's cool enough the handle.
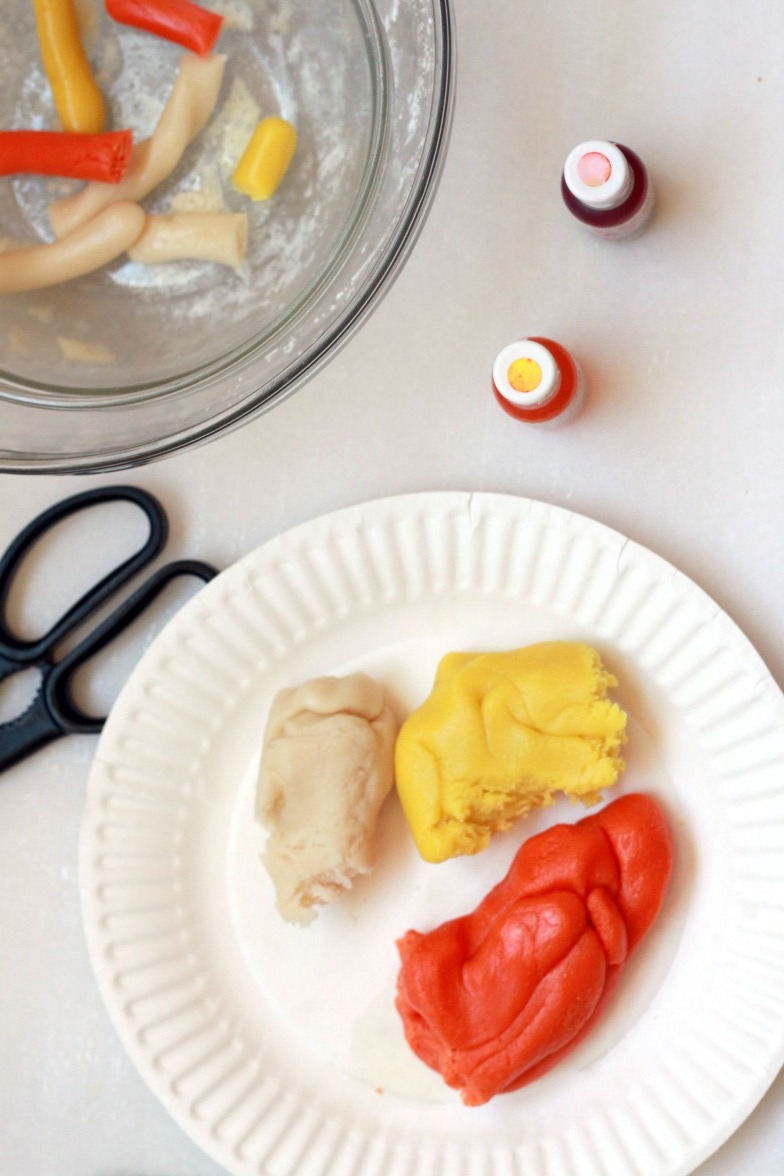
Divide the dough into thirds, placing each third in its own bowl. Kneading food coloring into the dough with your hands, color one third yellow, another third orange, and leave the last third white.
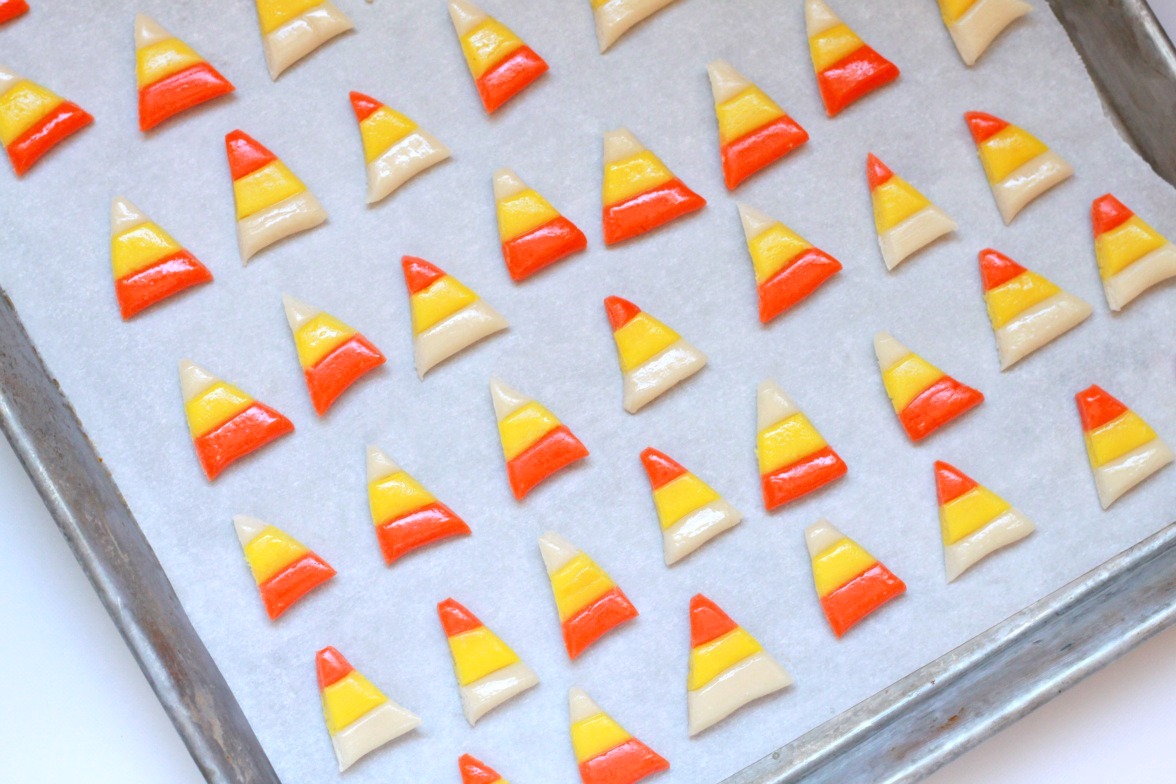
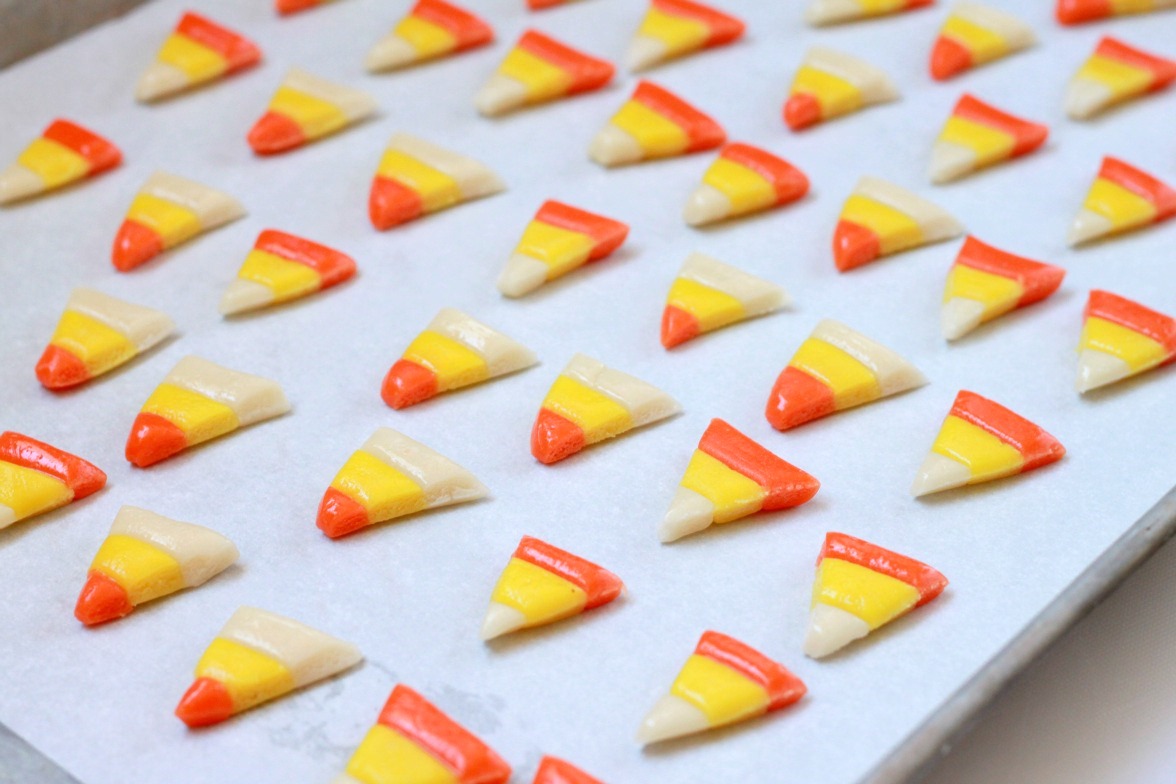
Form each third of dough into a long thin rope, about 1/4 to 1/2 inch in diameter. Lay the ropes side by side, touching each other: white, orange and yellow. To ensure they stick together, place a piece of waxed or parchment paper on top and roll gently with a rolling pin just to get the ropes to adhere, not to flatten them too much. Using a sharp knife or kitchen scissors, snip the dough into triangles. Keep a damp cloth nearby so you can wipe the knife or scissors clean of candy residue every so often. Let the finished kernels set in the open air in a single layer until they are dry to the touch, about an hour or two. Store in a single layer in a cool, dry place.


