Dahlia Bakery's Pumpkin Crème Pie
 To be real, does the Internet really NEED another pumpkin pie recipe right about now? Hhrrmm. But that's how good this particular pumpkin pie is, friends. I think it's got tons of fun twists on the regular and is totally worth sharing. It's my favorite kind of recipe, really--something that, quite literally, on the surface looks like every other pumpkin pie you've had in your life (I mean, just look at that picture up there--golden crust, burnt orange sea of spiced pumpkin custard, kitschy dollops of cream and all), but the process and ingredients are just different enough that it takes the final result to some level of pumpkin pie that makes it all brand new and has everyone asking how you made it. Instant baking cred! Now there's something to be thankful for.
If you're doing one of those Thanksgiving celebrations where everybody divvies up the work and you've been assigned to bring a pie, this is the pumpkin pie recipe you need. Why am I making this pie so situational? Well, because we're friends, I'm into Recipe Honesty. And the hard truth about this recipe is that it's not quite as simple as the dump-and-stir, back-of-the-pumpkin-puree-can recipe. However, even though this is a bit of a Project Pie, every extra step indeed elevates the whole thing. What a relief. Lord knows that in all my pregnancy bigness, I'm in no position to put effort into something that doesn't yield serious results. In the words of the great Mr. T, I ain't got tiiiiiime for no jibba-jabba.
(Now would also be a good time to note that this pie is so good that you might consider it even if you're one of those people--ahem, me--who inexplicably feels the need to overextend yourself and prepare the whole dang meal solo. What is that about, anyway? Hello, therapy!)
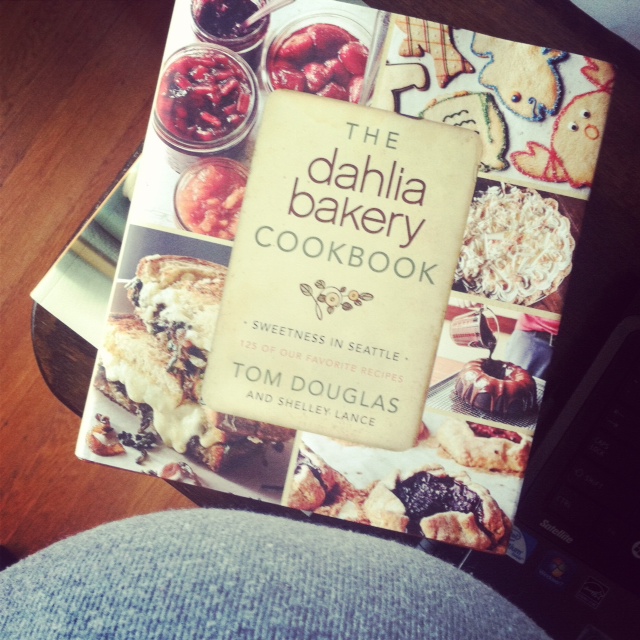
So what's so great about this pumpkin pie, you ask? A couple things. First, it's from The Dahlia Bakery Cookbook, which I've been thumbing through and bookmarking every chance I get. This book is rustic and real and positively genius, chockablock with recipes and techniques that I (and my ever-growing belly that seems to be edging its way into every photo these days) can't wait to try. Holiday gifting material of the highest order, I'm telling you.
But back to special features of this pumpkin pie recipe. For one thing, there's the crust. First you blind bake and cool a 9-inch pie shell of your choosing. Make it from scratch like I did or don't, I'm not judging, I'm just saying. (But I will say that making your own is pretty dang easy, and if you go the store bought route, maybe try this tip to make it taste a little better.) Once you've got your pie shell dealt with, you layer it with a mixture of pulverized gingersnaps (the kind from the box, you don't have to make the gingersnaps from scratch, for goodness' sake) and melted butter.
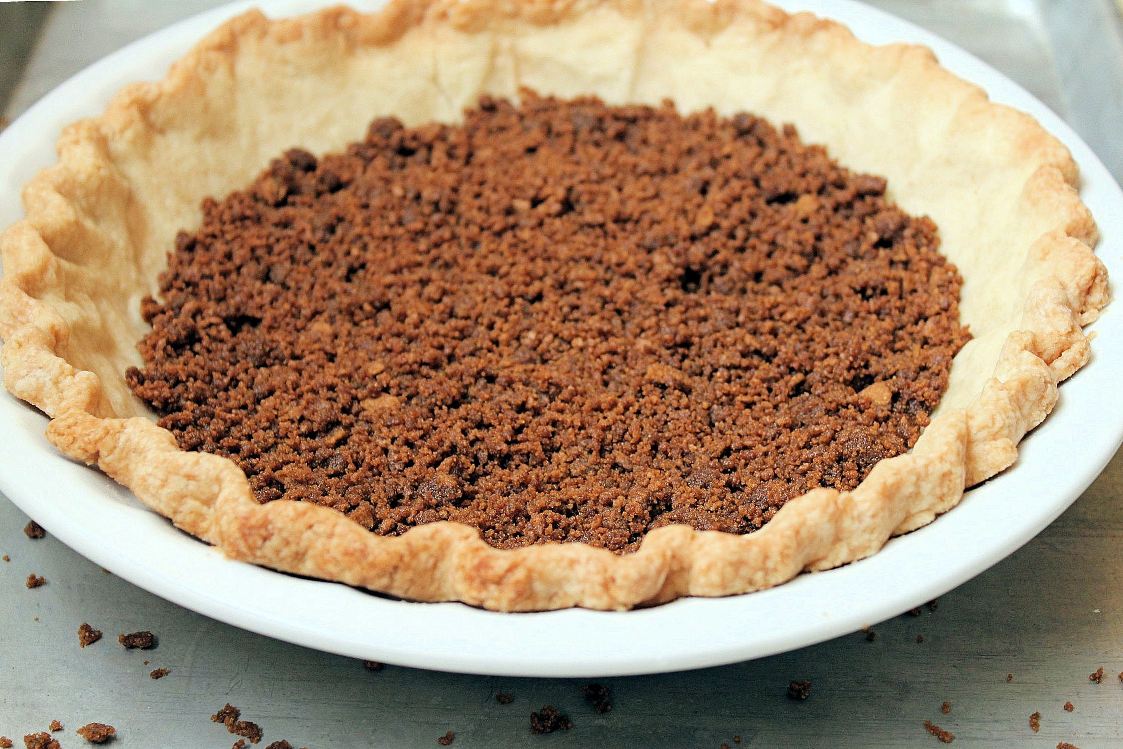
This is when things start to get super exciting. See, the wonderful flavor and texture and lovely visual from this gingersnap layer isn't the only thing going on here. This cookie layer also provides some insulation between the filling and the crust and keeps the crust fantastically crisp, even under all that baked pumpkin custard. I wish I had a pie slice photo to show you so you could admire the resulting layers, but this pie was brought to a dinner party and devoured in a way that makes taking food photos totally unimportant. Priorities.
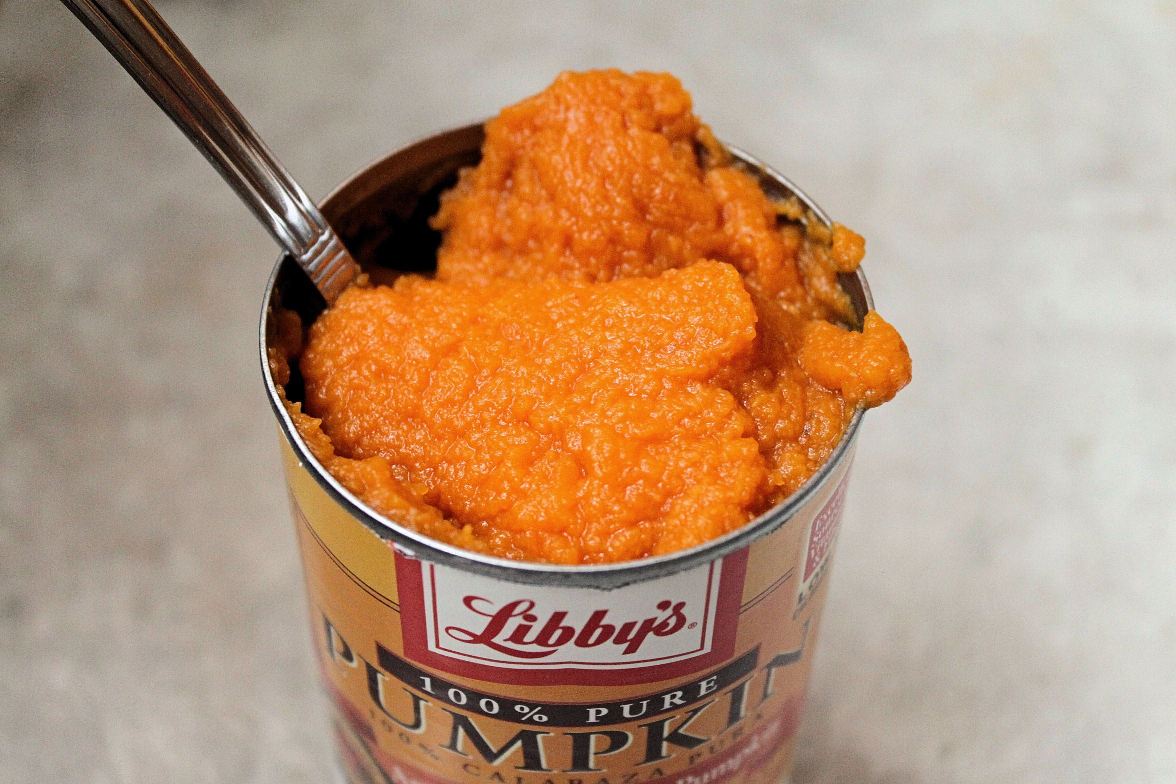
Then there's the pumpkin. The recipe calls for a Sugar Pie Pumpkin to be cut and roasted and pureed. I'll be real--I TOTALLY DID NOT DO THAT. It was a matter of effort, yes, but also that I completely forgot to forage for/buy a Sugar Pie Pumpkin (not usually on the grocery list--I'm sure you can relate). Plus, I had a can of good pumpkin puree on hand, and the cookbook from which this recipe comes says that canned puree can be used in the place of the homemade kind. So I cut the baker's guilt over not following the recipe to the letter right quick, and started living in the Real World. Canned pumpkin puree is your friend here. It makes time for things like making your own pie crust, which offers more of a payoff in terms of the tastiness of this pie.
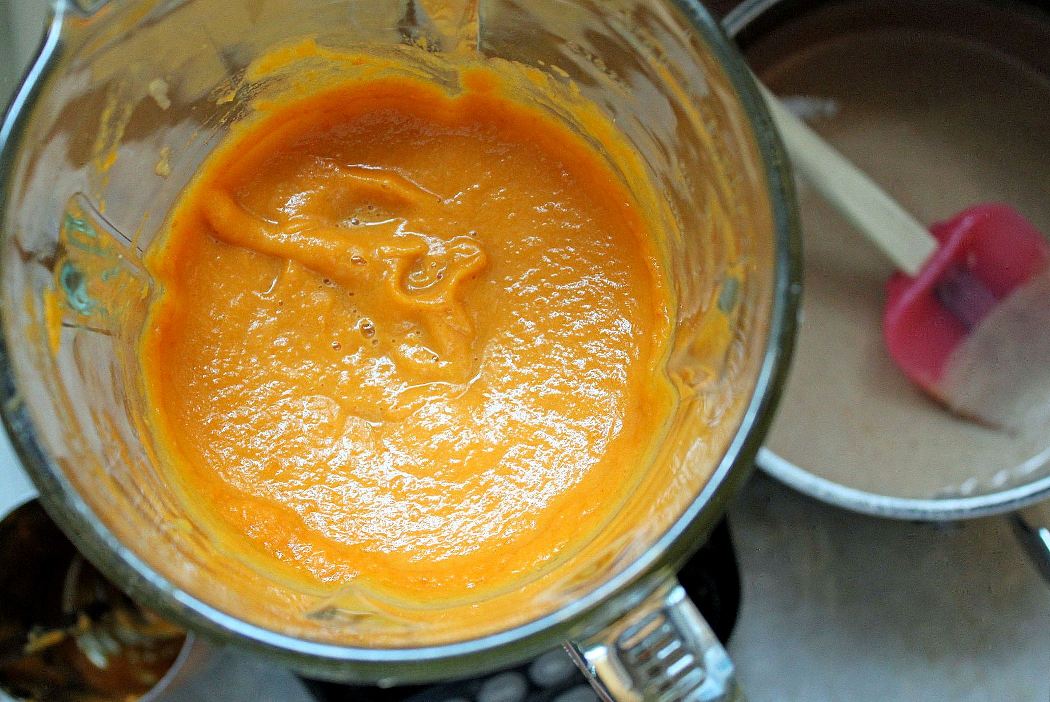
And finally there's the making of the filling once you've got your pumpkin puree situation resolved. This is the revolutionary bit of the whole thing. The custard in this pie isn't just about pumpkin, spices, eggs, and a liquid like plain cream or sweetened condensed milk or whatever other pumpkin pie recipes may call for. Oh-hooo, no. It's all about a dreamy crème Anglaise that comes together on the stovetop, full of cream and more eggs and so heavenly spiced that you'll want to drink the whole thing before the pumpkin even comes into play. The Anglaise itself would make one heck of an ice cream if frozen. So basically the filling for the pie is a baked pumpkin ice cream custard. Heck, yes.
Once the filling is made, then it's just into the pie shell and into a surprisingly low oven (just 300°F) to bake until things just start to set up. All that's left to do is let it cool, slice it, dollop on some whipped cream, blow minds and take names.
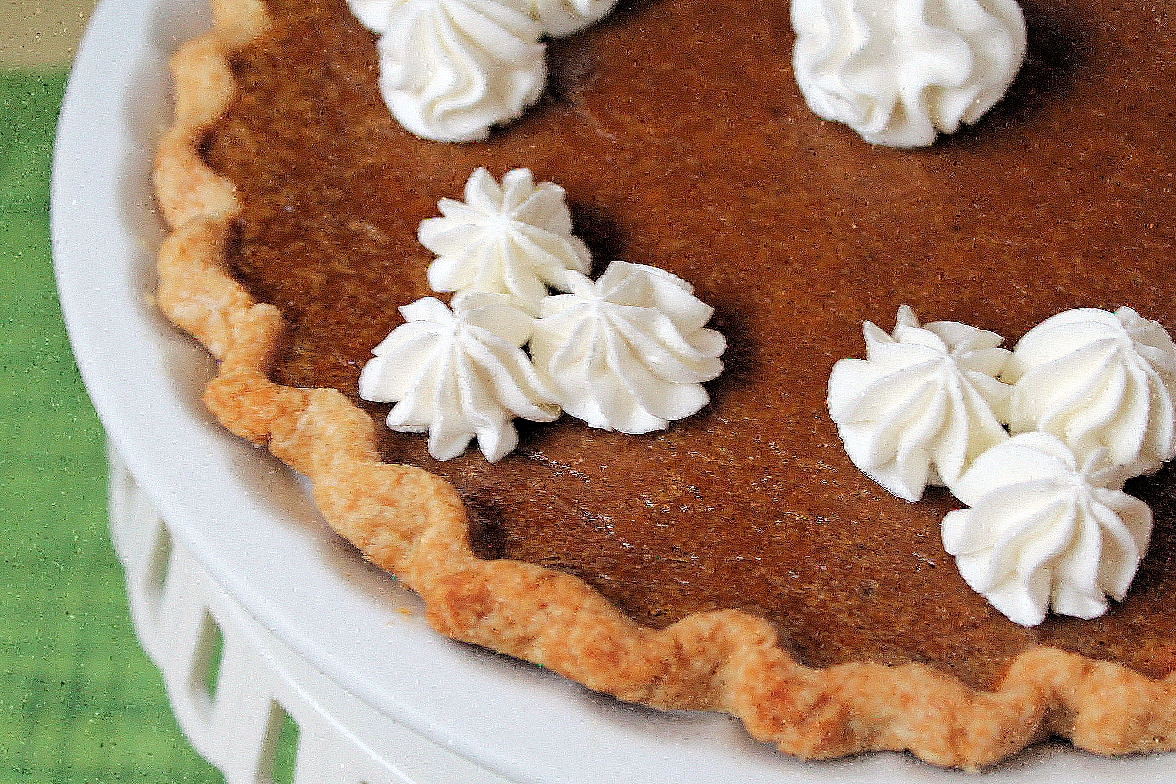
Pumpkin Creme Pie Adapted from The Dahlia Bakery Cookbook
Multi-step recipes call for multiple notes:
If you want to make your own pumpkin puree, take a 2 1/2-pound Sugar Pie Pumpkin, halve and seed it, and cut it into large chunks. Toss with 2 tablespoons vegetable oil and 1 teaspoon kosher salt in a large baking dish. Turn the pieces rind side down, and cover the pan with foil, cutting a few vent holes in the foil. Roast in a 400 degree for 1 hour, then remove the foil and continue to roast until tender, about 20 to 25 minutes more. Scoop the flesh away from the rind and puree in a food processor until fine.
Make ahead details: Grind the gingersnap crumbs the day before and store in a ziptop baggie. Bake and cool your pie shell the day before. Wrap well with plastic wrap and store at room temperature until you're ready to fill and bake the pie. Don't fret if the edges of your blind baked pie shell are already browned when the filled pie goes into the oven for the final bake--the oven is so low that I didn't find tenting the edges of the pie with foil necessary to prevent overbrowning or burning.
You can also make the filling a couple days ahead--just transfer to a heatproof bowl and cover well with plastic wrap--one sheet right on the surface of the custard, and another sheet over the whole bowl. Before filling the pie, warm the custard slightly over a pan of simmering water, stirring it gently and often--it doesn't need to be hot, but it will help the pie bake more evenly if you take the chill off the custard before filling the pie.
I found that I had a little more filling than would comfortably fit in my pie shell, so I just poured the remainder into a ramekin, put it in a 6-inch round cake pan, and made a mini-water bath for it, baking it right along the pie for a bonus pumpkin pot de creme.
Because I am a celebrator of vanilla, I opted to use a Mexican vanilla bean and Mexican vanilla extract--the bold, rich flavor stands up well to the spices here. For the spice amounts in the filling, go with your preference--I ended up cutting the ginger and upping the cinnamon for my tastes.
For the gingersnap layer: 3 ounces store-bought gingersnap cookies (about 12-13 2-inch cookies), ground to fine crumbs in a food processor 2 tablespoons unsalted butter, melted and cooled
For the crust: 1 9-inch pie shell, blind-baked and cooled (like My Favorite Pie Crust)
For the pumpkin-creme Anglaise filling: 1 15-ounce can pumpkin puree (not pumpkin pie filling--double check the label!) 3/4 cup whole milk 1/2 cup heavy cream 1 vanilla bean, split lengthwise 3 large egg yolks 1 teaspoon ground ginger (I halved this measure--a good choice) 3/4 teaspoon ground cinnamon (bumped this up to 1 teaspoon) 1/4 teaspoon freshly grated nutmeg 1/8 teaspoon ground cloves 1/2 teaspoon kosher salt (or 1/4 teaspoon table salt) 1 cup packed brown sugar (I used light brown) 3 large eggs 1 tablespoon pure vanilla extract
Whipped cream, like Stabilized Whipped Cream, for serving
Set an oven rack to the center of the oven and preheat it to 300°F.
In a small bowl, stir together the gingersnap crumbs until evenly moistened. Scatter the crumbs across the bottom of the baked and cooled pie shell, patting lightly into an even layer. Set the prepared crust aside.
To make the filling, place the pumpkin puree into a blender. In a medium saucepan set over medium heat, combine the milk, cream, and vanilla bean. Heat the mixture just until small bubbles begin to form around the edges of the pot--don't let it boil. Remove the pan from the heat. Cover and steep for 10 minutes.
Remove the vanilla pod from the saucepan, and scrape any remaining seeds into a large bowl, discarding the pod. To the bowl, add the egg yolks, spices, salt, and 1/2 cup of the brown sugar. Whisk vigorously to blend, whisking until the mixture lightens in color. Add a small amount of the hot milk to the egg mixture, whisking well to blend and temper the eggs, then whisk the egg mixture into the saucepan with the remaining milk. Place the saucepan over medium heat and cook the custard, stirring constantly for 2 to 3 minutes, until it thickens and coats the back of a spoon (when you run your finger through the coating, a clear track will remain).
Pour the custard into the blender with the pumpkin puree. Add the 3 whole eggs, remaining 1/2 cup brown sugar, and vanilla extract. Blend on high speed for 1 full minute. Allow the filling to rest for about 15 minutes. Bubbles will rise to the top of the filling--skim those off with a spoon. The goal is to get as many bubbles out of the custard now, so that the top of your pie will be smooth, but don't fret about getting every single bubble.
Place the prepared pie shell on a baking sheet. Pour the filling into the pie shell. Bake until the filling is set, but still jiggles slightly in the center when you gently shake the pan, 60 to 75 minutes (I needed the extra time). Cool completely on a wire rack before slicing and serving with whipped cream, at least 2 hours.